The stages
Seven stages. Stages 1 and 2 always come first; stages 3, 4 and 5, in whatever order the player picks; then stage 6. Stage 7 only exists with Nemesis 2 in the other slot.
The routes are drawn from the bytes of the ROM. The radar and the card are rebuilt from the ROM's bytes and identical, pixel for pixel, to openMSX's VRAM; the take-off is the VRAM of every frame of a game in openMSX, painted the way the TMS9918 paints it (tools/anima.py).
The stages and their order
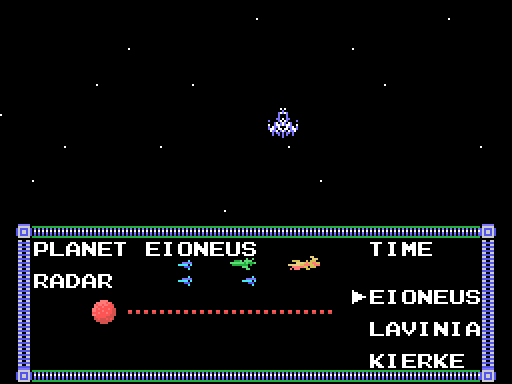
The radar with the three planets.
After stage 2, the game shows the radar with EIONEUS, LAVINIA and KIERKE,
and the player picks which one comes first: they are stages 3, 4 and 5, in
whatever order he chooses (p10:988A). There is a clock: if it reaches
zero, the game picks (p10:9A43). Stage 6 comes next. Stage 7, with
Nemesis 2, comes before stage 6 (p10:8B7B).
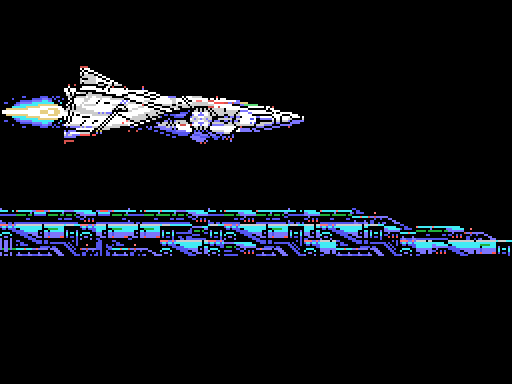
Before each stage come the take-off from the base and a title card
(p10:8A20):
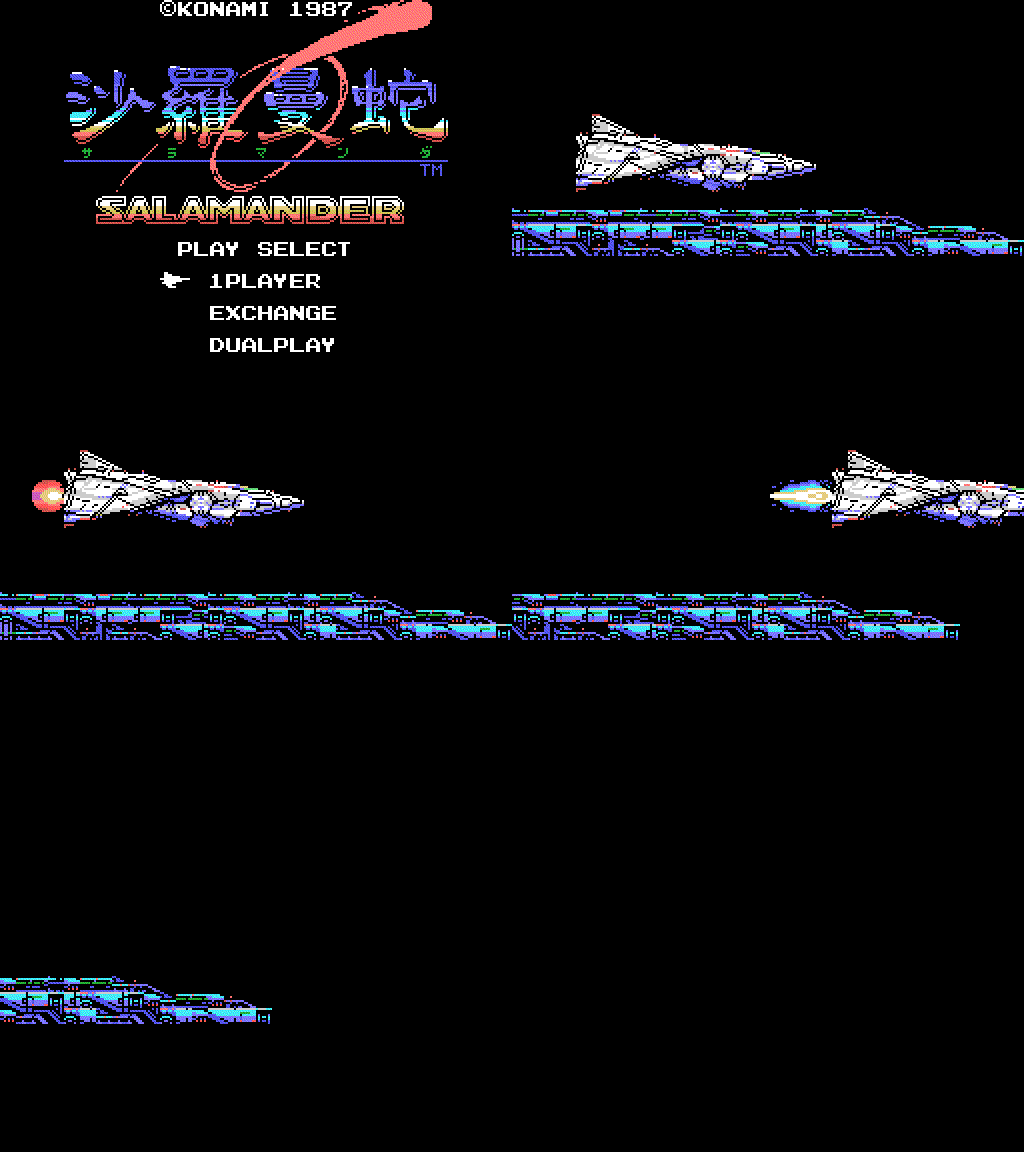
The take-off and the stage 1 card, 6 seconds. As stills, identical to the VRAM: the take-off and the card.
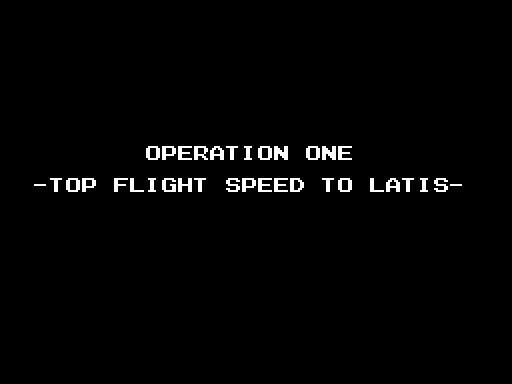
| Stage | Card | Subtitle |
|---|---|---|
| 1 | OPERATION ONE | -TOP FLIGHT SPEED TO LATIS- |
| 2 | OPERATION TWO | -CONDUCT TO SPACE STATION ZOT- |
| 3, 4, 5 | OPERATION THREE | -SET THE CRUSH BLOW SYSTEM- and the planet |
| 6 | OPERATION FOUR | -CRUSH SALAMANDER- |
| 7 | OPERATION X | -WRATH OF VENOM- |
In the Japanese version the subtitle of stages 3, 4 and 5 is
-SET THE LEEK SYSTEM- (p15:BF5A); the others are the same.
The routes
Stages 2, 3 and 6 scroll vertically; the others, horizontally
(p02:8921). Each stage map is made of 4 x 4 character blocks
(p13:6F4C), but the route is not a straight strip: in three stages the
scroll stops and the screen moves through another map (p00:4BE6):
- in stage 1, at scroll 0x11F the view goes down 24 rows through the map at
p14:80FC, carries on horizontally and at 0x1FF goes down another 24; - in stage 4, at 0x1BF it goes down 24 rows through
p14:815C; - in stage 6, which goes up, at 0x14F it moves 32 columns to the left and
at 0x167 back to the right, through
p14:818C.
In stage 4, between scrolls 0x100 and 0x150, the base is barely visible:
only one frame in 64 dumps the map with its scenery (p00:5FC5,
p01:6016). In stages 1, 3, 6 and 7 the characters change half way
(p00:5C77), and in stages 4, 5 and 6 some of them animate on their own
(p12:A4A9).
Stage 1

Horizontal; goes down twice through another map.
Stage 2

Vertical.
Stage 3

Vertical.
Stage 4

Horizontal; goes down once through another map, and the base is barely visible.
Stage 5

Horizontal.
Stage 6

Vertical; moves left and back.
Stage 7

Horizontal; only with Nemesis 2 in the other slot.